ASP.NET MVC Paybox Integration
ASP.NET MVC Paybox Intégration
PAYBOX is a payment solution as PAYPAL and others, providing services Present and Payment, E-Commerce, Call Centers ….
In this article we propose to integrate the PAYBOX e-commerce payment solution.
For information on PAYBOX, thank you for visit (http://www.paybox.com/)
We are using Visual studio C# and ASP.NET MVC4 (for more information about ASP.NET MVC please take a look at http://www.asp.net/mvc/tutorials/mvc-4/getting-started-with-aspnet-mvc4/intro-to-aspnet-mvc-4
Lets Go :
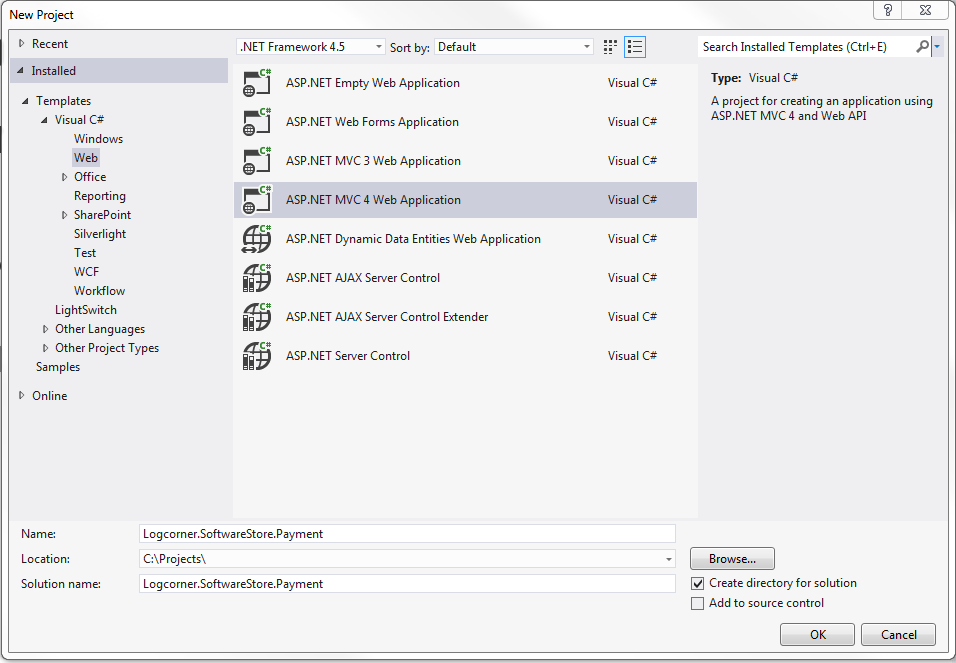
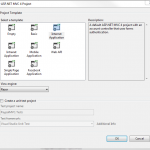
1. Open Visual studio 2010 or later and Create your Project
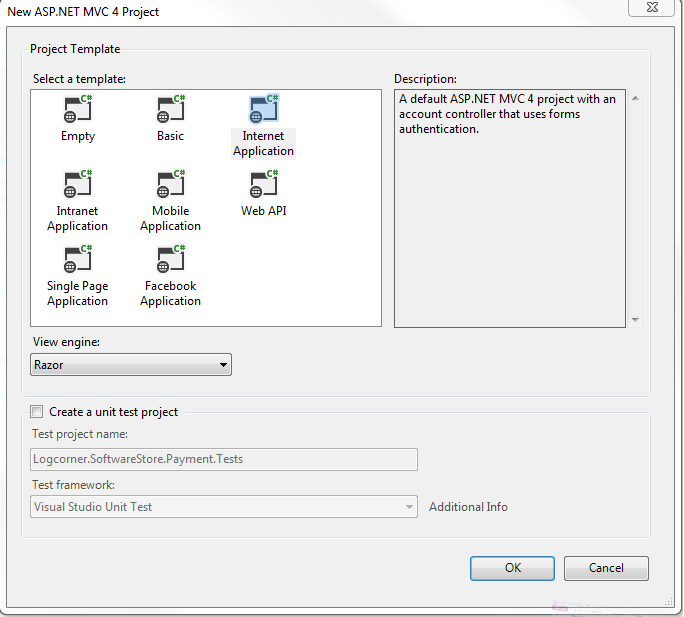
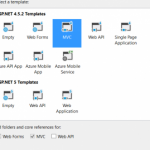
2. Choose ASP.NET MVC4 Template Projet, Internet Application and Razor ViewEngine
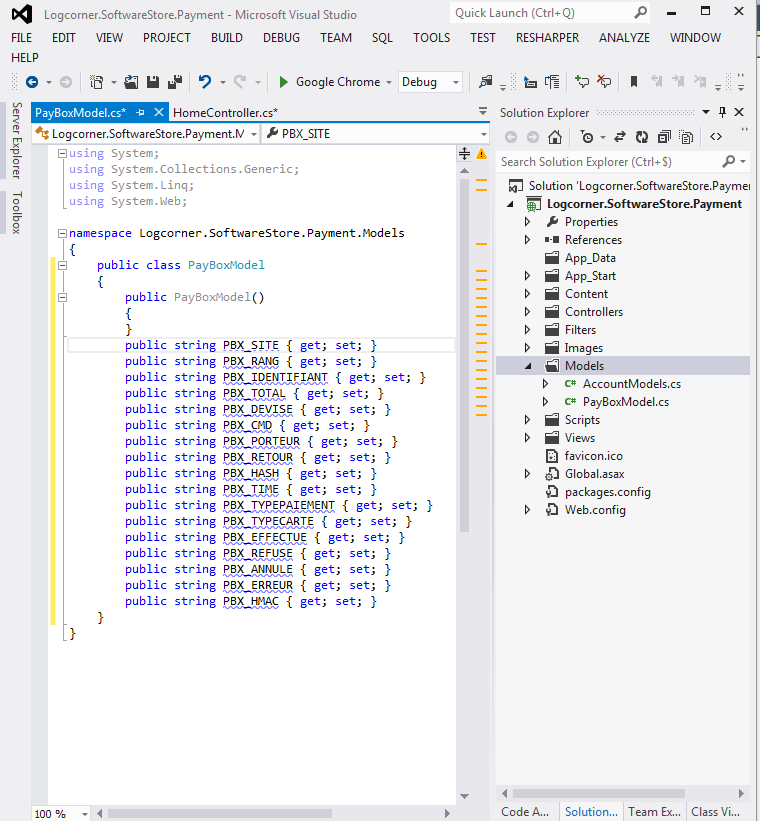
3. Expand Model folder and Create a new Model named PayBoxModel to hold PayBox payment parameters
public class PayBoxModel
{
public PayBoxModel()
{
}
public string PBX_SITE { get; set; }
public string PBX_RANG { get; set; }
public string PBX_IDENTIFIANT { get; set; }
public string PBX_TOTAL { get; set; }
public string PBX_DEVISE { get; set; }
public string PBX_CMD { get; set; }
public string PBX_PORTEUR { get; set; }
public string PBX_RETOUR { get; set; }
public string PBX_HASH { get; set; }
public string PBX_TIME { get; set; }
public string PBX_TYPEPAIEMENT { get; set; }
public string PBX_TYPECARTE { get; set; }
public string PBX_EFFECTUE { get; set; }
public string PBX_REFUSE { get; set; }
public string PBX_ANNULE { get; set; }
public string PBX_ERREUR { get; set; }
public string PBX_HMAC { get; set; }
}
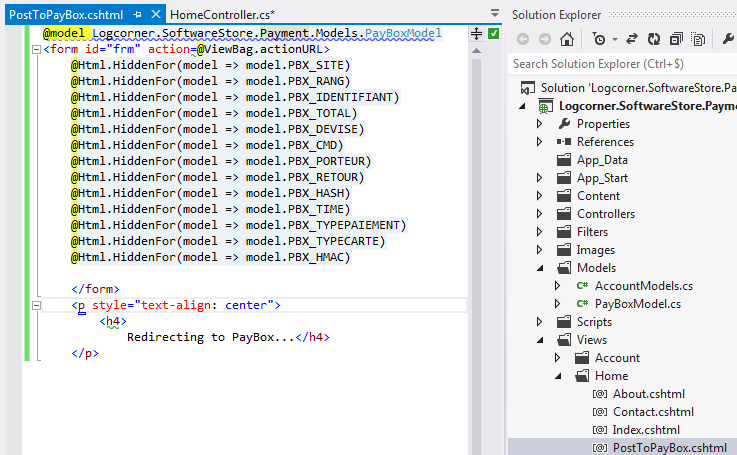
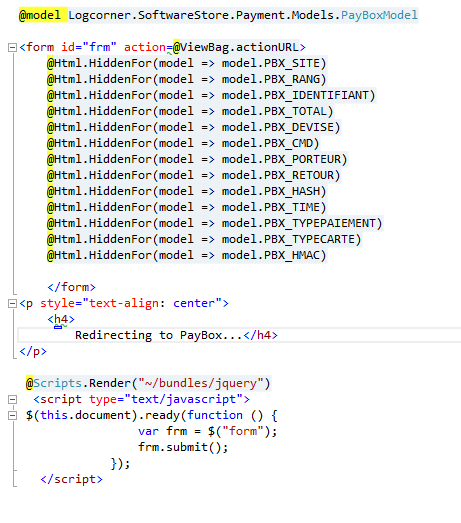
4. Now Create a Partial View (PostToPayBox.csHtml) to use our Model. Do not forget that all fields must be of type hidden
@model Logcorner.SoftwareStore.Payment.Models.PayBoxModel
<form id=”frm” action=@ViewBag.actionURL>
@Html.HiddenFor(model => model.PBX_SITE)
@Html.HiddenFor(model => model.PBX_RANG)
@Html.HiddenFor(model => model.PBX_IDENTIFIANT)
@Html.HiddenFor(model => model.PBX_TOTAL)
@Html.HiddenFor(model => model.PBX_DEVISE)
@Html.HiddenFor(model => model.PBX_CMD)
@Html.HiddenFor(model => model.PBX_PORTEUR)
@Html.HiddenFor(model => model.PBX_RETOUR)
@Html.HiddenFor(model => model.PBX_HASH)
@Html.HiddenFor(model => model.PBX_TIME)
@Html.HiddenFor(model => model.PBX_TYPEPAIEMENT)
@Html.HiddenFor(model => model.PBX_TYPECARTE)
@Html.HiddenFor(model => model.PBX_HMAC)
</form>
<p style=”text-align: center”>
<h4>
Redirecting to PayBox…</h4>
</p>
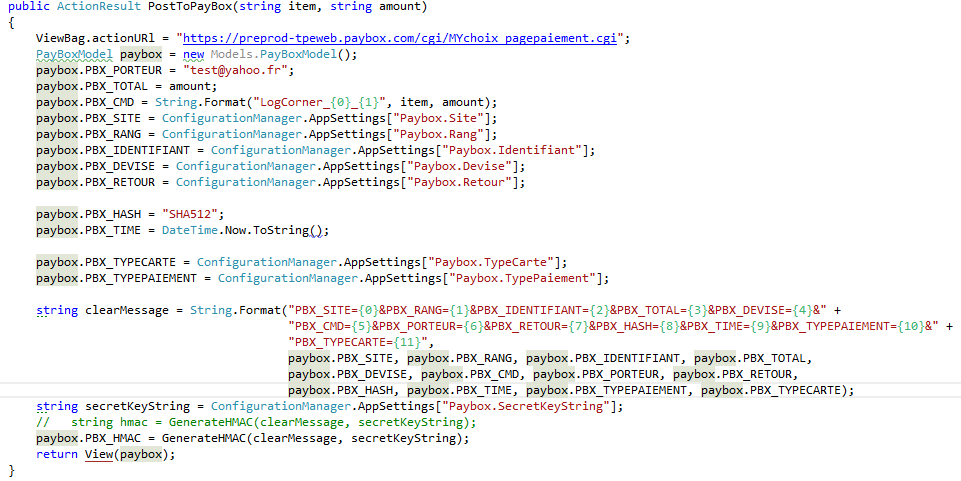
5. Now Expand our Controller folder , open HomeController class and add a action Result PostToPayBox.
6. Note its important to secure our action post. So only user who have credentials are allowed to pay articles ( For more information about securing your asp.NET MVC internet application please have a look at our tutorial How to configure Custom Membership and Role Provider using ASP.NET MVC4
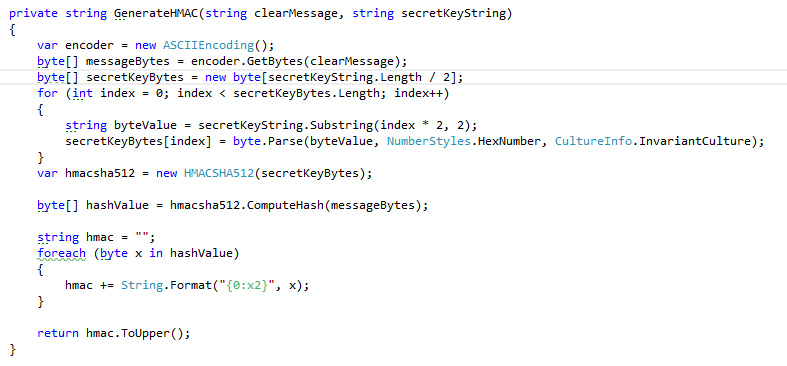
7. Now will implement our function GenerateHMAC
8. Next finish our partialView by adding a jquery code to auto submit our form. The necessary scripts are Jquery-{version}.js and Jquery-{version}.min.js. Here we are used @Scripts.Render(“~/bundles/jquery”) to include all Jquery scripts. A more better practice will be to export all javascript functions to external file but the submit function must be called just after displaying hidden field of our form
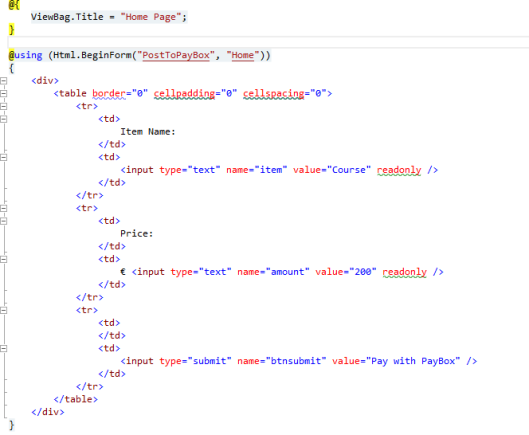
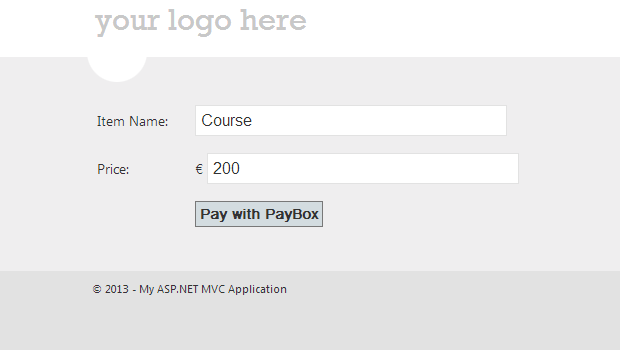
9. The next step is to create our checkOut form that dispays product name , Quanty, price and Total :
So expand View folder , expand Home folder and open index.csHtml file. Replace its contents by the following
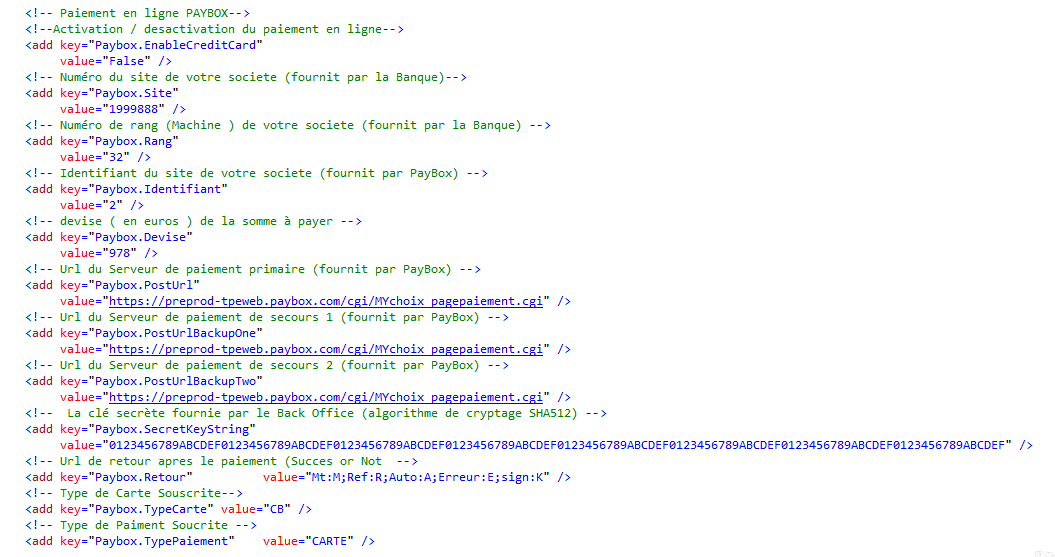
10. we are at the end. Our final step is to update the web.config file with the appropriate settngs
11. Now , lets go testing our solution :
12. Run the application (or Press F5 )
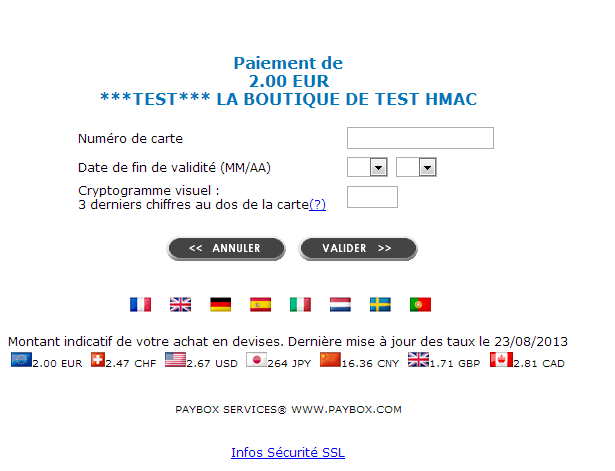
13. Confirm payment by clicking on button Pay With Paybox, then you will be redirected to the payment page
14. So enter the card test parameter :
Paybox test Credit Card Number : 1111 2222 3333 4444
Validity : 06/14
CVV : 123
Note this parameters are for test . So if does not work. Contact paybox So as to have updated parameters.
In a real worl application , you must contact paybox (and your bank) to subscribe the appropriated options according to your business.
Hope this post are helped you.
Note : for Paypal Integration please visit our tutorial for PayPal

